
Hello 2015!! Hope you all have a wonderful year with lot's of assignments and great stuff to photograph.
It's been quite a while that I did not post anything here on the blog, time flies and so do things. The world spins so quickly these days that you almost do not have time to spare on something else than shooting and family. For me traveling been an easy and wild ride that most of the time I don't have a moment to spare with the blog and unfortunately started to be left behind
Well, enough of this and the post I bring you today is an easy one and I been planning on writing on this for quite sometime, that the time has come ;)
More and more I've been traveling for assignments and getting myself with the same dilemma: Travel=Lightweight.
This means less things to bring onto a shoot and travel lighter either by having a small camera and lenses or having to choose lighter lighting gear and all portable. So I decided to give it a go to my Umbrella Softboxes I had in the closet, first because they are easy to travel with and also very quick to assemble on location, you just pop them open like an umbrella and there you have it a self contained softbox.
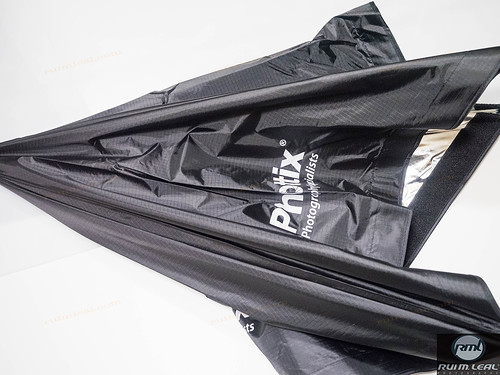
My last acquisition was the Phottix 90x90cm with grid, man this thing is BIG (not bulky), very portable and not very expensive. Excellent for on location shooting and travel! Not a BIG MAMMA but BIG and good for portraits and small group shots.
The thing is, I had already noticed that the interior of this type of boxes were not well attached together and can sometimes cause it to have disruption at the metal parts, either by letting her fall on the floor by wind blowing, by mistake or simply by opening it up and closing it to many times.
The 4 tissue attachments that came in are not suffice to make this thing steady (I also noticed the same thing on some other different sizes Umbrella Softboxes from this same brand).
Well they hold it together great but if you make some heavy duty work with it then this DIY solution maybe something that you would like to consider done to yours.
It's simply adding some inexpensive Nylon Cable Ties to join the 2 metal pieces together. This way you will have a stronger softbox, just by doing this DIY (Do It Yourself) on all metal bars that hold the softbox together.
Let's see how:
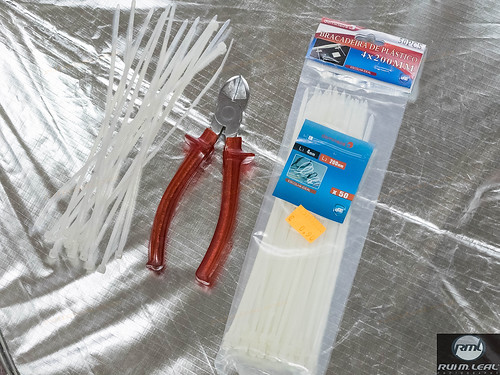
First what will you need to make this DIY happen:
- Wire Cutter
- 24x White Nylon Cable Ties (200mm) 0,50€ a pack of 50
You can choose whatever color you want on the Cable Ties, I preferred the white ones so it can be neutral, since the background of the box is silver and because visually it pops less to your eyes ;)

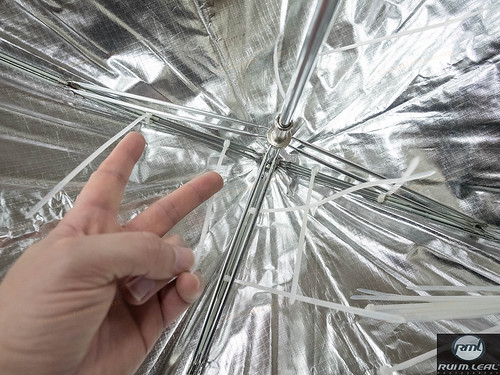
Here is one of the 4 tissues that attach the metal bars together on each side of the softbox.

Here you have one of the Nylon Cable Ties firmly securing the metal bars together next to the tissue one.

Grab the 2 bars together, here you have to take some attention for not letting the bars cross before you zip in the Nylon Cable Tie, otherwise you will end up with a distorted bar..
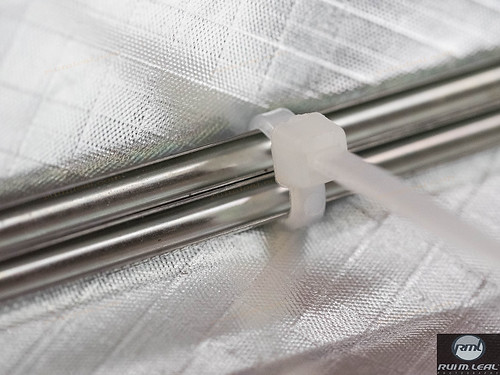
Zip in the Nylon Cable Tie and move on to the next. I zipped in 6 Nylon Cable Ties on each metal bar.
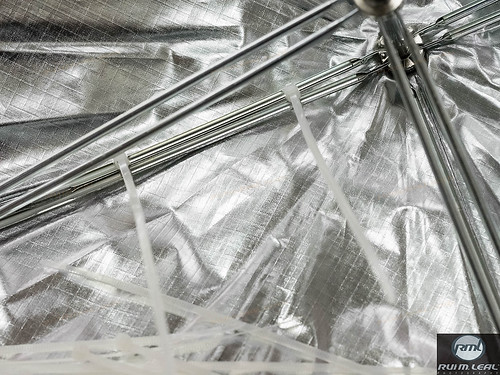
Here is the distance I've done of each Nylon Cable Tie near the top center shaft.

I did not push the zip too much on the closest to the center so it will not bend the metal bars. Tight it a little but not too much.
Here is another image of the distance between the first two Nylon Cable Ties.

Cut the long edge of the Nylon Cable Tie and you are ready to go.
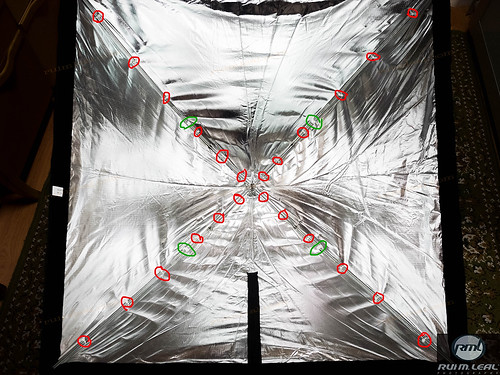
Here is the final image of my box.
The Red circles are the Nylon Cable Ties I had and the Green ones are the tissued ones that came already in the box.
I used 6 Nylon Cable Ties on each of the 4 metal parts of the box. I think 6 will suffice but you are able to attach more if you want to.
By making this simple DIY you are making the 4 metal parts more rigid and durable since now they are secured to each other instead of floating around.
Hope this would help you on getting a more steady Umbrella Softbox so it could last a little longer.
Until next post... stay safe and THANK YOU for the support!!!
No comments:
Post a Comment